
The Ultimate Brown Butter Buttermilk Pancakes Recipe
These are, without a doubt, the fluffiest, most flavorful buttermilk pancakes you will ever make.
I feel like every Southern family has a go-to pancake recipe. For years, mine was my grandmother’s simple version, scribbled on a faded index card. They were good, don’t get me wrong. They were the taste of Saturday mornings growing up. But one day, my husband and I stopped at a little roadside diner on a trip through the mountains, and I ordered their malted pancakes on a whim.
Good heavens, that was a revelation. They had a subtle, toasty sweetness that was so comforting and familiar, but I just couldn’t place it. It was like the best vanilla milkshake in pancake form. I spent weeks trying to recreate that flavor, and after a few near misses, I finally landed on malted milk powder. It was the missing piece of the puzzle.
The second twist came about by pure, beautiful accident. I was melting butter for the batter, got distracted by the dog needing to go out, and when I came back, the butter was flecked with brown bits and smelled like toasted hazelnuts. I almost threw it out, but I hate to waste good butter, so I decided to use it anyway. That happy little mistake was the final touch. The nutty depth of the brown butter combined with the creamy malt flavor creates a stack of buttermilk pancakes that’s truly something special.
Now, this is our official family recipe. It’s the one my kids request for their birthday breakfast, and the one I whip up when we have guests for the weekend. It’s a little taste of that diner magic, right in my own kitchen.
Why This Buttermilk Pancakes Recipe Works
A classic buttermilk pancake is a pillar of American breakfast cuisine for a reason. It’s a simple concept that, when done right, is pure comfort on a plate. The magic of buttermilk has always been its acidity. When that tanginess hits the baking soda in the batter, it creates a chemical reaction, producing carbon dioxide bubbles that make the pancakes incredibly light and fluffy.
It’s a tale as old as time, a recipe passed down through generations. It reminds us of slow weekend mornings and family breakfasts. But even a classic can be made better with a little modern touch.
This recipe takes that beloved foundation and elevates it with two simple, yet game changing, ingredients. First, the brown butter. Instead of just using plain melted butter, we take a few extra minutes to toast it on the stovetop. This process caramelizes the milk solids, creating a deep, nutty, and almost savory aroma and flavor. It adds a layer of complexity that you just don’t get from regular butter, transforming the pancake from good to gourmet.
The second secret is the malted milk powder. This is the ingredient that gives old-fashioned milkshakes their distinctive taste. In these buttermilk pancakes, it adds a subtle, creamy sweetness and a hint of toasty, caramel-like flavor. It rounds out the tang of the buttermilk and the richness of the brown butter perfectly. It makes the pancakes taste more wholesome and deeply satisfying, giving them that nostalgic, diner-style quality that is absolutely irresistible. Together, these two additions create a symphony of flavor that makes this the best buttermilk pancakes recipe you’ll ever need.
Ingredients for Buttermilk Pancakes
The beauty of this recipe is how it uses mostly pantry staples to create something extraordinary. The key is using good quality ingredients, especially when it comes to our two special additions. Here’s what you’ll need to gather.
- 2 cups all-purpose flour
- 3 tablespoons malted milk powder
- 2 tablespoons granulated sugar
- 2 teaspoons baking powder
- 1 teaspoon baking soda
- ½ teaspoon fine sea salt
- 2 cups full-fat buttermilk
- 2 large eggs
- 1 teaspoon vanilla extract
- 4 tablespoons (½ stick) unsalted butter, plus more for the griddle
Now, let’s talk about what makes this list special. The star, of course, is the malted milk powder. You can usually find this in the baking aisle or near the coffee and hot cocoa mixes. It’s a fine powder that dissolves beautifully into the batter and lends that unmistakable diner-style flavor.
Our other key player is the unsalted butter that we’ll be browning. I always use unsalted butter in my baking and cooking because it allows me to control the salt level myself. Using a quality butter will also yield a more flavorful brown butter, as it has better milk solids to toast.
Don’t skimp on the full-fat buttermilk either. The low-fat versions just don’t have the same richness or the right amount of acid to react with the baking soda for that maximum fluff we’re looking for. Real buttermilk is essential for both the tangy flavor and the tender texture of these pancakes. And of course, using large, fresh eggs will give your batter the structure it needs. These small details really do add up to the perfect pancake.
Step-by-Step Instructions For Making Buttermilk Pancakes
Making these pancakes is a straightforward process, but paying attention to a few key techniques will guarantee you a perfect, fluffy stack every single time. Grab your bowls and let’s get started.
Step 1: Brown the Butter
Place your 4 tablespoons of unsalted butter in a small, light-colored saucepan over medium heat. A light-colored pan is helpful so you can see the color changing. Let it melt completely. It will start to foam and sputter. Swirl the pan occasionally to ensure it cooks evenly. After a few minutes, the sputtering will quiet down, and you’ll see amber-brown specks forming at the bottom. The butter will smell wonderfully nutty. As soon as you see this, remove it from the heat immediately to prevent burning. Set it aside to cool down just a bit.
Step 2: Whisk the Dry Ingredients
In a large bowl, add your flour, malted milk powder, sugar, baking powder, baking soda, and salt. Use a whisk to combine everything thoroughly. This step is more important than it seems, it ensures your leavening agents are evenly distributed, which means every pancake will be uniformly fluffy.
Step 3: Combine the Wet Ingredients
In a separate medium-sized bowl, pour in the buttermilk, then crack in the two large eggs and add the vanilla extract. Whisk these together until they are just combined and the egg yolks are broken up. Don’t go crazy here, just a few good stirs will do.
Step 4: Add the Brown Butter
Your brown butter should be slightly cooled by now, not piping hot. While whisking the buttermilk mixture constantly, slowly pour the brown butter in a thin stream. This is called tempering. It incorporates the fat without scrambling the eggs from the heat.
Step 5: Mix the Batter
Now, pour the wet ingredients into the large bowl with the dry ingredients. Switch to a rubber spatula and gently fold everything together until it’s just combined. The most important rule of pancakes is this: do not overmix. The batter should be thick and very lumpy. A few streaks of flour are perfectly fine. Overmixing develops the gluten in the flour and will result in tough, rubbery pancakes.
Step 6: Let the Batter Rest
Let the lumpy batter sit on the counter for 5 to 10 minutes. This allows the flour to hydrate fully and the gluten strands to relax, which contributes to a more tender pancake. You might even see a few bubbles forming, which is a good sign.
Step 7: Heat the Griddle
Place a non-stick skillet or a griddle over medium-low heat. The right temperature is key. If it’s too hot, the outside will burn before the inside is cooked. Too low, and they won’t get golden. To test it, flick a drop of water onto the surface. If it sizzles and dances before evaporating, you’re ready. Lightly grease the surface with a small pat of butter.
Step 8: Cook the Pancakes
Using a ¼-cup measure, pour the batter onto the hot griddle, leaving a couple of inches between each pancake. Let them cook for about 2 to 3 minutes. You’ll know they are ready to flip when bubbles start to appear and pop on the surface and the edges look dry and set.
Step 9: Flip and Finish
Using a thin spatula, carefully flip the pancakes and cook for another 1 to 2 minutes on the other side, until they are beautifully golden brown and cooked through. Avoid the temptation to press down on them with your spatula, as that will just deflate all the lovely air bubbles.
Step 10: Serve Immediately
Transfer the finished pancakes to a plate and serve them hot. To keep the whole batch warm while you cook the rest, you can place them on a baking sheet in a 200°F oven.
How To Serve Buttermilk Pancakes
Once you have a warm stack of these golden, fluffy buttermilk pancakes, the fun really begins. Serving them is all about personal preference, but I have a few favorite ways to dress them up that I think you’ll enjoy.
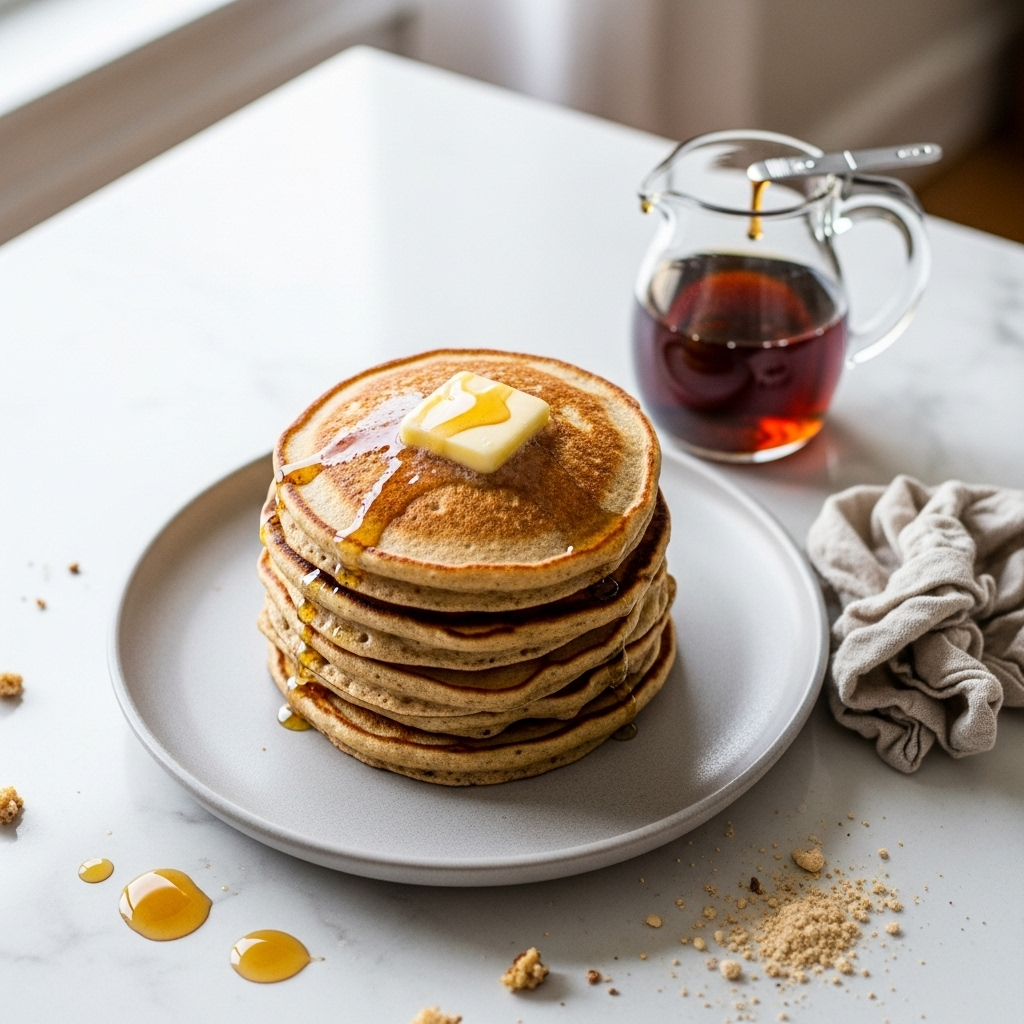
Of course, there’s nothing wrong with the classic approach. A simple pat of soft, salted butter melting into the warm crevices and a generous drizzle of real maple syrup is a timeless combination for a reason. It’s pure, simple, and lets the nutty, malted flavor of the pancakes shine through. Sometimes, the simplest way is truly the best.
But if you want to make a weekend breakfast feel a little more special, here are some other delicious ideas:
- Fresh Fruit and Cream: Top your stack with a handful of fresh berries like blueberries, raspberries, or sliced strawberries. Add a big dollop of freshly whipped cream for a touch of decadence.
- Southern Praline Style: For a true Southern treat, drizzle them with a warm pecan praline sauce. The combination of sweet caramel and toasted pecans is absolutely divine with these pancakes.
- Cinnamon Sugar Swirl: Just before serving, brush the top pancake with a little melted butter and sprinkle generously with a mixture of cinnamon and sugar. It’s simple but so very comforting.
- Lemon and Powdered Sugar: Brighten things up with a squeeze of fresh lemon juice over the top and a light dusting of powdered sugar. It creates a lovely sweet and tart contrast.
- Savory Companions: Don’t forget the sides! A plate of these pancakes is made even better with some crispy bacon, savory sausage links, or a side of scrambled eggs to round out the meal.
No matter how you choose to serve them, the most important thing is to enjoy them while they’re hot. A perfect pancake waits for no one, so gather your family, pour the coffee, and dig in.
How To Store & Reuse Buttermilk Pancakes Leftovers
While these buttermilk pancakes are best enjoyed fresh off the griddle, sometimes you just end up with a few extras. The good news is that they store and reheat beautifully, making them a fantastic option for a quick weekday breakfast. There’s nothing better than knowing a delicious breakfast is just minutes away.
The key to storing pancakes is to let them cool down completely first. If you stack them while they’re still warm, the steam will get trapped and they can become soggy. I like to lay them in a single layer on a wire rack for about 15 to 20 minutes until they are at room temperature.
Once they’re cool, you have a couple of great options for storing them:
- In the Refrigerator: For short-term storage, stack the cooled pancakes with a small piece of parchment or wax paper between each one to prevent sticking. Place the stack in an airtight container or a zip-top bag. They will keep well in the fridge for up to 3 days.
- In the Freezer: This is my favorite method for longer storage. Place the cooled pancakes in a single layer on a baking sheet and pop them in the freezer for about an hour, or until they’re solid. This is called flash freezing and it prevents them from sticking together. Once frozen, transfer the pancakes to a freezer-safe zip-top bag. They’ll stay fresh for up to 2 months.
When you’re ready to enjoy your leftovers, you can skip the microwave, which tends to make them soft. For the best texture, I recommend reheating them in the toaster or a toaster oven until they are warmed through and slightly crisp on the edges. It’s just like popping in a piece of toast, and it makes for an incredibly fast and satisfying breakfast.
Substitutions & Variations For Buttermilk Pancakes
While I believe this buttermilk pancakes recipe is perfect as it is, I know that sometimes you need to work with what you have in your pantry, or you might just be in the mood to experiment a little. This recipe is wonderfully adaptable, so feel free to make it your own.
The most common question is about the buttermilk itself. If you find yourself without any, you can make a quick substitute. For every cup of buttermilk, use one cup of regular milk mixed with one tablespoon of either lemon juice or white vinegar. Let it sit for about 5 minutes until it looks slightly curdled. It won’t have the same thick consistency or rich tang as real buttermilk, but it works in a pinch.
Here are a few other fun substitutions and variations to try:
- Add-Ins: This is where you can get really creative. Gently fold about a cup of your favorite add-ins into the batter right before you let it rest. Classic choices like fresh blueberries or chocolate chips are always a hit. You could also try chopped pecans, sliced bananas, or even shredded coconut.
- Flour Variations: For a heartier pancake with a nuttier flavor, you can substitute up to half of the all-purpose flour with whole wheat flour or buckwheat flour. You may need to add an extra splash of buttermilk, as these flours tend to be a bit thirstier.
- Spice It Up: Add a little warmth to your batter by whisking in a ½ teaspoon of ground cinnamon or a ¼ teaspoon of freshly grated nutmeg along with your other dry ingredients. It’s especially lovely during the fall and winter months.
- Flavor Extracts: While vanilla is classic, you could swap it for a ¼ teaspoon of almond extract for a different flavor profile that pairs wonderfully with the brown butter.
No matter what little tweaks you make, the core techniques of browning the butter and not overmixing the batter will ensure you end up with a delicious breakfast. Have fun and see what new favorite combinations you can create!
The Best Buttermilk Pancakes with a Twist
Description: Fluffy, diner-style buttermilk pancakes elevated with the nutty richness of brown butter and a secret touch of creamy malted milk powder for the ultimate breakfast treat.
Yield: 12-14 pancakes | Category: Breakfast | Cuisine: American
Prep Time: 15 minutes | Cook Time: 15 minutes
Ingredients
- 2 cups all-purpose flour
- 3 tablespoons malted milk powder
- 2 tablespoons granulated sugar
- 2 teaspoons baking powder
- 1 teaspoon baking soda
- ½ teaspoon fine sea salt
- 2 cups full-fat buttermilk
- 2 large eggs
- 1 teaspoon vanilla extract
- 4 tablespoons (½ stick) unsalted butter, plus more for the griddle
Instructions
- In a small saucepan, melt 4 tbsp butter over medium heat. Continue cooking, swirling the pan, until it foams and brown specks form. Immediately remove from heat to cool slightly.
- In a large bowl, whisk together the flour, malted milk powder, sugar, baking powder, baking soda, and salt.
- In a separate bowl, whisk the buttermilk, eggs, and vanilla.
- While whisking the buttermilk mixture constantly, slowly stream in the cooled brown butter.
- Pour the wet ingredients into the dry ingredients and fold with a spatula until just combined. The batter will be lumpy. Do not overmix.
- Let the batter rest for 5-10 minutes.
- Heat a lightly greased griddle or non-stick skillet over medium-low heat.
- Pour ¼ cup of batter per pancake and cook for 2-3 minutes, until bubbles appear on the surface.
- Flip and cook for another 1-2 minutes until golden brown.
- Serve immediately.
Notes
For the fluffiest pancakes, ensure your buttermilk and eggs are at room temperature. Do not press down on the pancakes with your spatula after flipping.
Servings: 6 | Calories: 350 kcal | Fat: 14g | Carbohydrates: 45g | Protein: 11g
5 FAQs About Buttermilk Pancakes
Here are some straightforward answers to the most common questions I receive about this buttermilk pancakes recipe.
Why are my buttermilk pancakes flat?
Oh, the dreaded flat pancake. It’s a common problem, but thankfully, it’s usually easy to fix. The number one culprit is overmixing the batter. When you whisk and stir too much after combining the wet and dry ingredients, you develop the gluten in the flour. This makes the pancakes tough and dense instead of light and fluffy. Remember, a lumpy batter is a good thing! Fold the ingredients together with a spatula only until you no longer see big streaks of dry flour.
Another reason could be your leavening agents, the baking powder and baking soda. These ingredients can lose their potency over time. If your containers have been open in the pantry for more than six months, they might not be giving you the lift you need. You can test your baking powder by dropping a spoonful in hot water, it should fizz vigorously. For baking soda, add a splash of vinegar, it should also bubble up immediately. If they don’t, it’s time for a fresh container. Finally, make sure you let the batter rest for at least 5 minutes before cooking. This simple step allows the leaveners to get to work and the gluten to relax, resulting in a much fluffier pancake.
Can I make buttermilk pancake batter ahead of time?
While it’s tempting to mix the batter the night before for a quicker morning, I generally advise against it. The reason goes back to the magic of the baking soda and buttermilk. As soon as they are combined, the chemical reaction that creates those wonderful air bubbles begins. If the batter sits for too long, like overnight, the leavening agents will lose most of their power, and you’ll likely end up with flat, dense pancakes.
However, you can do some prep work to save time. The best method is to mix all your dry ingredients (flour, sugar, malt powder, leaveners, salt) in a large bowl. In a separate bowl or jar, whisk together all the wet ingredients (buttermilk, eggs, vanilla, and the cooled brown butter). Cover both and store them in the refrigerator. In the morning, all you have to do is pour the wet into the dry, give it a few gentle folds, and you’re ready to cook. This way, you get the convenience of prepping ahead without sacrificing any of the fluffiness.
What’s the secret to perfectly golden brown buttermilk pancakes?
Achieving that perfect, even, golden-brown color comes down to two things: temperature control and the right amount of fat. Many people make the mistake of having their griddle or pan too hot. If the heat is too high, the outside of the pancake will scorch before the inside has a chance to cook through. You want to aim for a steady medium-low heat. It takes a little more patience, but the results are worth it. The best way to test if your pan is ready is to flick a few drops of water on it. They should sizzle and dance around before evaporating. If they disappear instantly, your pan is too hot.
The second part of the equation is the fat on your cooking surface. You only need a very thin layer. Too much butter or oil will essentially fry the edges of your pancakes, making them crispy and unevenly colored. I like to take a cold stick of butter and rub it lightly over the warm griddle before the first batch. For subsequent batches, a quick wipe with a paper towel that has a little butter on it is all you need to keep things from sticking and ensure that beautiful, uniform color.
Do I really need to use buttermilk for buttermilk pancakes?
I highly recommend using real, full-fat buttermilk for this recipe. It truly makes a difference in both the flavor and the texture. Buttermilk provides a distinctive tangy flavor that balances the sweetness of the pancakes beautifully. More importantly, its thickness and acidity are crucial for the texture. The acid reacts with the baking soda to create an incredibly tender and fluffy crumb that you just can’t fully replicate with regular milk.
That being said, if you’re in a pinch, you can use the homemade substitute of milk with a little lemon juice or white vinegar. It will work chemically to activate the baking soda, so you will still get some lift. However, the final pancakes won’t be quite as tender or have that same rich, tangy flavor. So, while you can make pancakes without it, they won’t be true buttermilk pancakes. I always say it’s worth a special trip to the store for the real deal.
How do I know when my buttermilk pancakes are ready to flip?
This is the golden question! Flipping at the right moment is crucial for a perfectly cooked pancake. If you flip too soon, you’ll have a mess on your hands. If you flip too late, you risk burning one side. Don’t rely on a timer alone, instead, use your eyes. The pancake will tell you when it’s ready.
Pour your batter onto the hot griddle and watch the surface closely. After a couple of minutes, you will start to see small bubbles form all over the top. The key is to wait until those bubbles begin to pop and stay open, rather than filling back in with batter. At the same time, look at the edges of the pancake. They will start to look dry and set, losing their wet sheen. Once you see a good number of popped bubbles on top and the edges look matte, it’s time to flip. A quick peek with your spatula should reveal a golden-brown underside. Flip it confidently and only once.
Try These Recipes Next
If you loved making these buttermilk pancakes, I know you’ll enjoy exploring some of our other family-favorite recipes here at This Gal Cooks. Breakfast is just the beginning, after all!
For more morning inspiration, be sure to check out our collection of Easy Breakfast Ideas. You’ll find everything from savory casseroles to sweet pastries to get your day started right.
If you’re looking for delicious meals that are also kind to your wallet, you’ll find plenty of ideas in our post on Cheap Meal Ideas. Great flavor doesn’t have to come with a big price tag.
And when you’re stuck in a dinner rut, we have you covered with over 110 Easy Dinner Ideas that are perfect for any night of the week. From quick 30-minute meals to slow-cooked Sunday suppers, there’s something for everyone.