
The Perfect Oven-Roasted Corn On The Cob Recipe
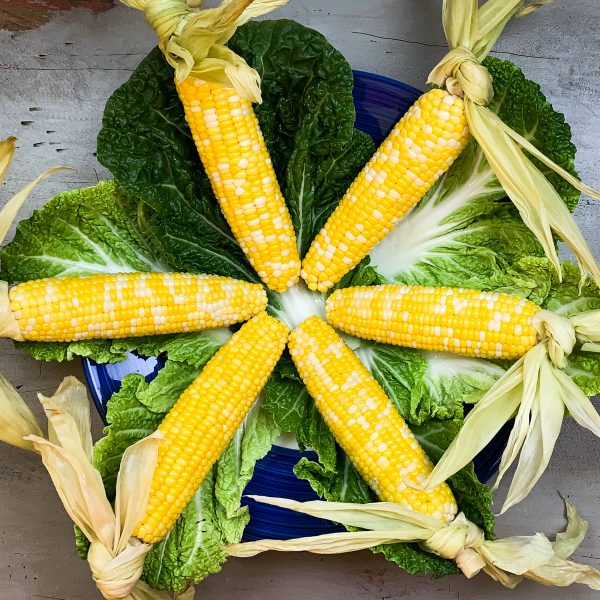
If you’ve been looking for the perfect recipe for oven-roasted corn on the cob, look no further!
You’ve probably noticed that corn is in season at the moment. Hence, the piles of corn available at your local grocery store. I pretty much love everything that can be made with corn, especially oven roasted corn on the cob! I’ve already roasted corn three times in the past two weeks.
Knowing how to roast corn in the oven is a great trick to have up your sleeve, especially with all of this crazy weather we’ve been having this year. Depending on where you live, you’re either battling heat and drought or constantly dealing with high humidity and rain.
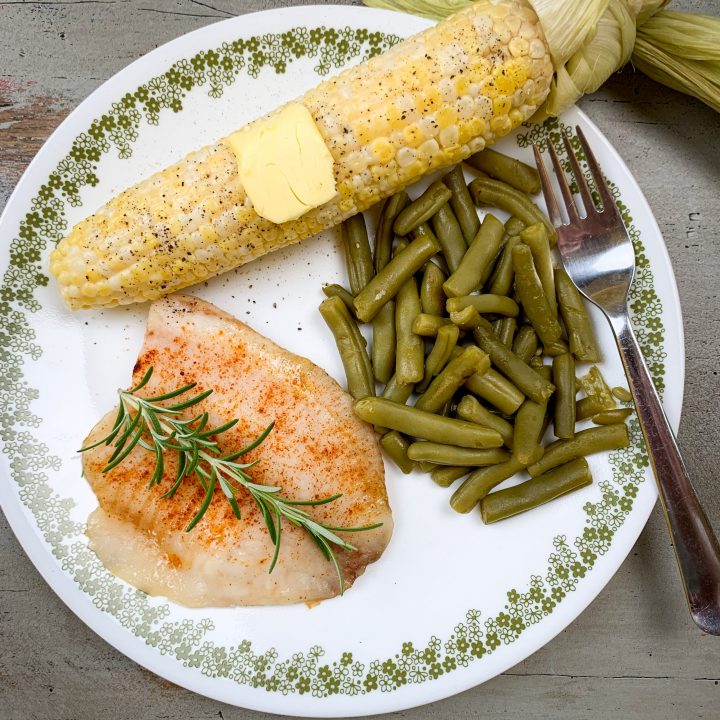
I love being able to pop a few ears of corn in the oven on a rainy day. It’s a convenient and easy way to add variety to most any meal. We like to eat it with fish, burgers, or just by itself.
HOW TO BUY CORN
Roasting corn on the cob in the oven starts with choosing the best corn available at your market. I mean, who wants to eat bland corn, right?
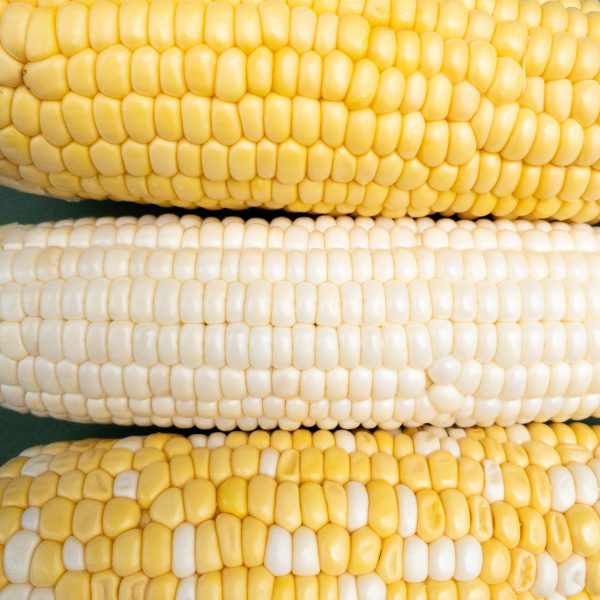
There are six primary types of corn available in the United States: Dent, Flint, Sweet, Pod, Flour, and Popping. Sweet corn is the variety we use for corn on the cob recipes. Chances are you’ll have yellow, white, and bicolored options available to you.

When you’re standing in your vegetable section or farmers market, you’ll get the best information from corn that’s still in its husks. Look for corn with bright green husks. The husks should be cool to the touch and slightly damp. They should also be tightly wrapped around the corn and free of tiny boreholes from insects. If the husks feel dry, look yellowish, and are starting to separate from the cob, this is a sign the corn kernels inside are drying out.
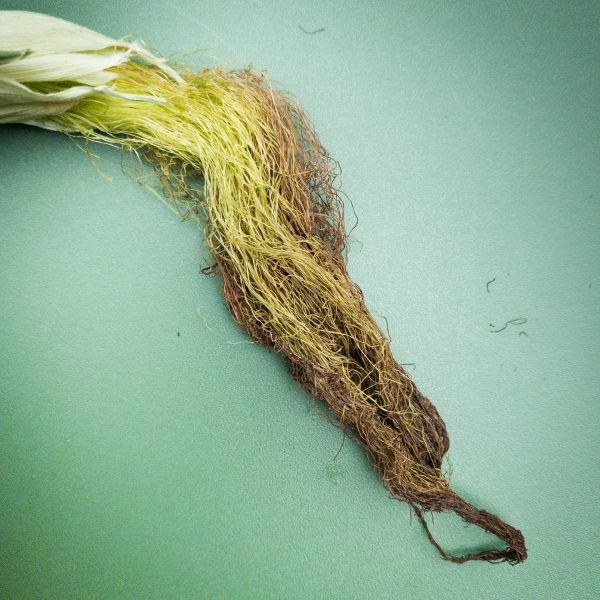
The end of the corn and tassels should also look fresh. Healthy tassels will be golden in color. If the tassels have turned brown, the corn is not as fresh as it could be.
Doing a squeeze test is preferable over peeling back the husks to take a look. The corn should feel firm when you squeeze it. You shouldn’t be able to feel any indented areas without kernels. Don’t worry if people look at you funny while you inspect your corn. They’re probably just curious what you know about corn that they don’t. I know I’ve gotten a few funny looks over the years.
Packages of corn with the ends cut off are a telltale sign of old corn. Once the husks are removed, corn dries out quickly.
OVEN ROASTING CORN ON THE COB WITH HUSKS
In my younger days, I used to help my grandmother shuck corn from the garden. She always boiled her corn, which left corn flavored water that usually got poured out. I didn’t realize it at the time, but we were dumping a lot of important flavor into the sink.
Later in life, I learned that keeping the husks on the corn traps the flavor inside the kernels. It’s pretty simple to do. You soak the corn in water for 15-30 minutes. Then, throw it in the oven for 30-40 minutes. I like to put mine on a baking sheet, but lots of people put their corn directly on the oven rack. Either way, your kitchen will fill with the fragrance of corn as it bakes.
If eating directly from the cob isn’t your thing, you can use this recipe to prepare the corn for my street corn salad.
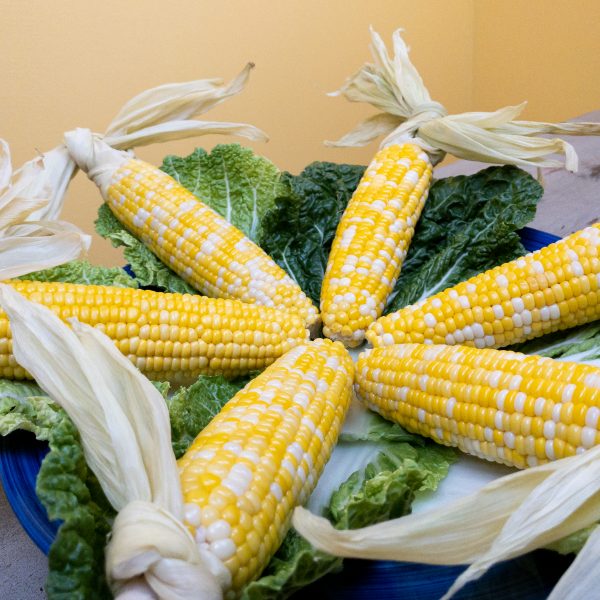
HOW TO MAKE A CORN HUSK HANDLE
Another great thing about leaving the husks on your corn while roasting is that it sets you up for corn husk handles. If you have kids, you’re gonna love how easy a corn husk handle will make your life.
When I tie mine, I remove the first few outer husks after cooking. Tearing them off tends to work better than breaking or cutting. Then, I peel back the remaining husks, remove the corn silks and tie an overhand knot. And presto, you can hold corn that’s hot to the touch without getting burned.
A VEGAN-FRIENDLY DELIGHT
A number of people following this site are on the lookout for vegan-friendly options. Oven roasted corn on the cob is great for a vegan diet, so long as you don’t bathe it in butter. Olive oil can be a great alternative if you feel the need for something oily. I personally find oven roasted corn flavorful enough to stand on its own. Some people add cilantro and a squeeze of lime or even top the corn with a dash of chili powder or black pepper.
INGREDIENTS FOR OVEN ROASTED CORN ON THE COB
- 4-6 ears of fresh corn in husks. Plan on 1-1.5 ears of corn per person.
- Desired seasoning (I like garlic salt, creole, pepper, or just about anything)
STEP 1: SOAK THE CORN

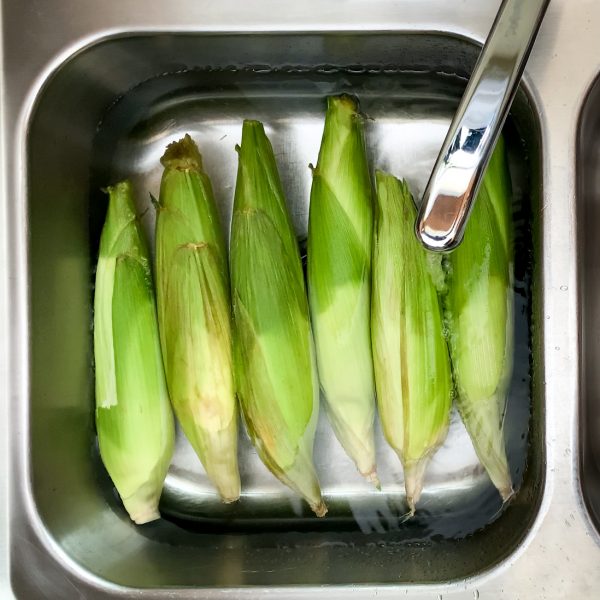
Use a pair of kitchen scissors to trim the silks, husks, and end of the corn. Place the corn in your sink and fill it with water until the corn can be completely submerged when held underwater.
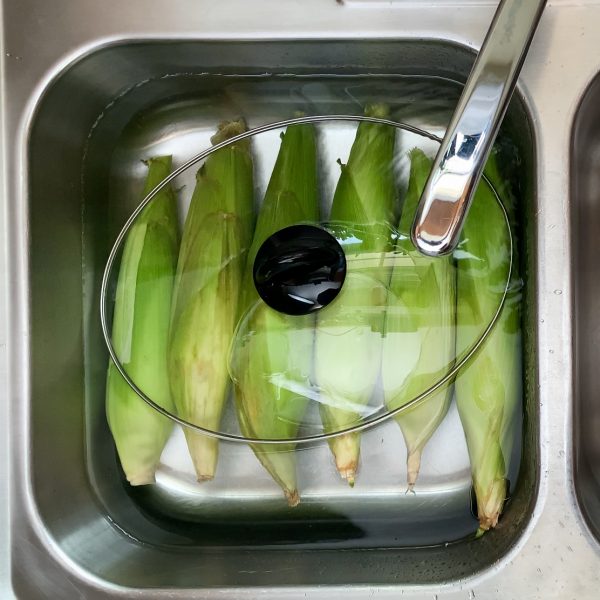
Place a lid or pan on the corn to hold it underwater. Wait 15-30 minutes. Soaking the corn ensures it will not dry out during the roasting process.
STEP 2: PREPARE THE CORN FOR BAKING
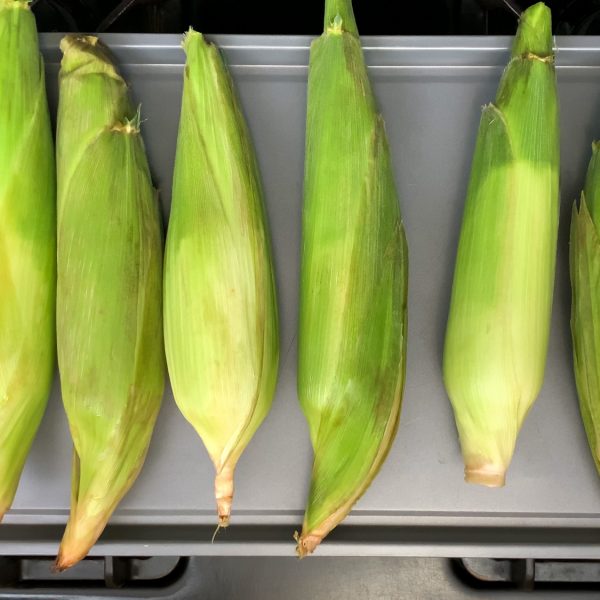
Preheat the oven to 350℉. Remove the corn and shake off any excess water. Spread the corn out on a baking sheet.
STEP 3: BAKE THE CORN
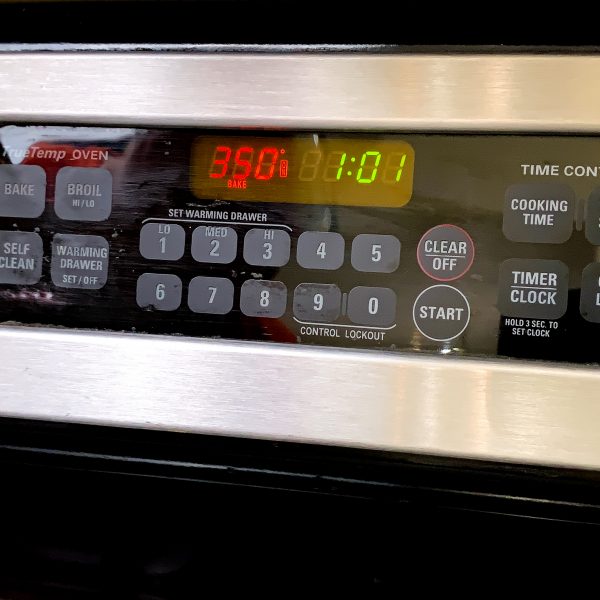
Bake the corn at 350℉ for 30-40 minutes. Avoid opening the oven while baking to retain heat.
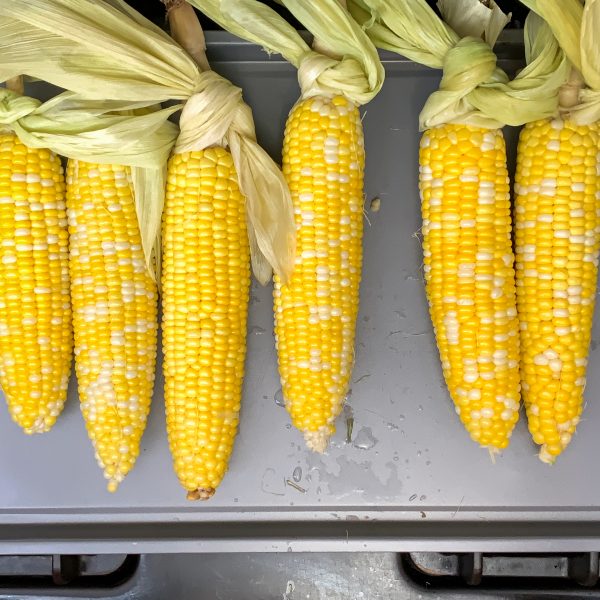
STEP 4: REMOVE THE CORN AND LET COOL

Remove the corn from the oven and let it cool for approximately five minutes. You don’t want it to get cold, but also want to avoid burning your hands while tying the corn husks.
STEP 6: TIE THE CORN HUSK HANDLES
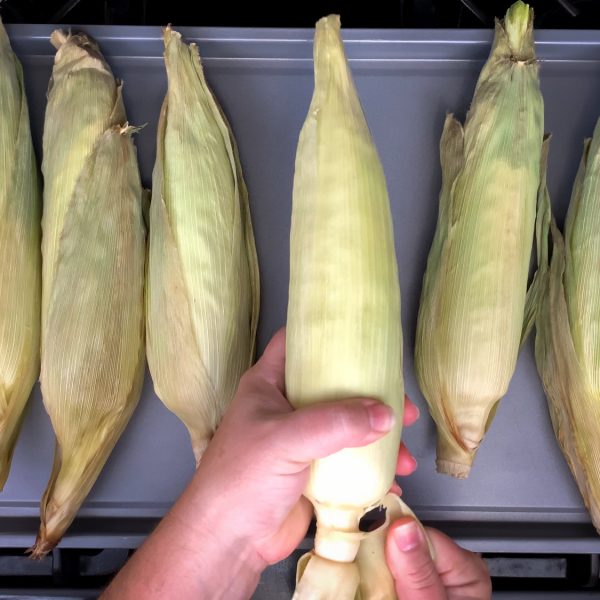
Peel back the outer husks, tear them off and discard them.
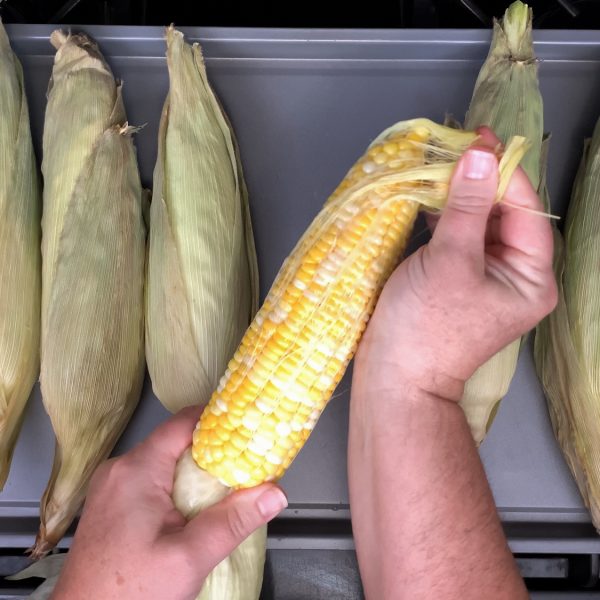
Peel down the remaining husks and remove the corn silks.
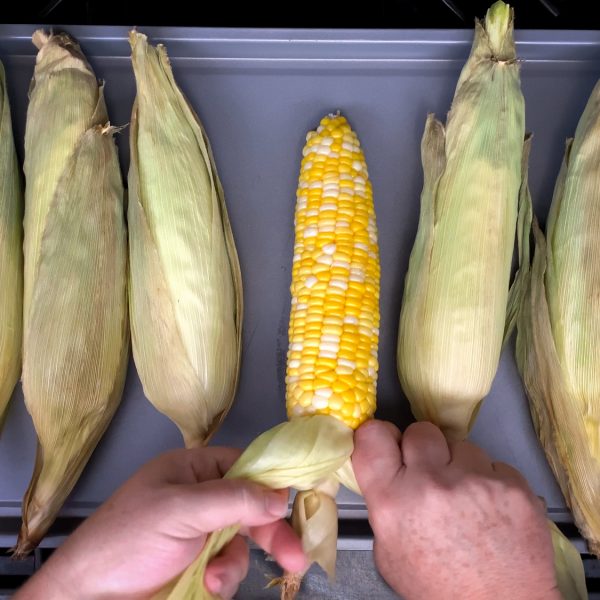
Divide the husks into two parts and tie with an overhand knot.

Pull tightly. Repeat.

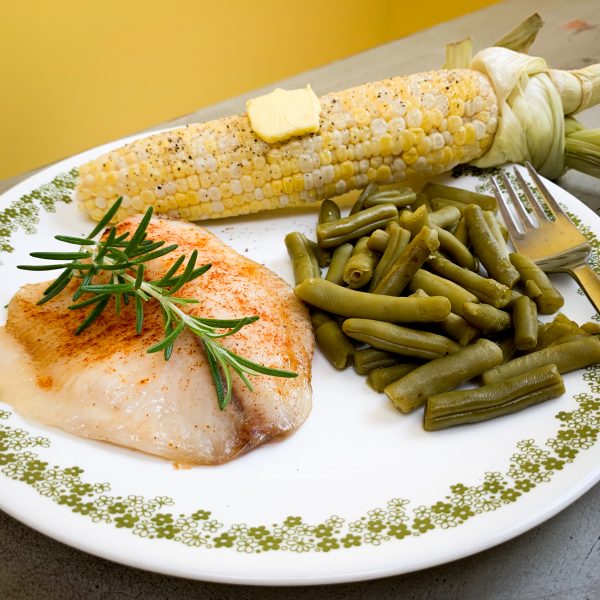
The Perfect Oven-Roasted Corn On The Cob Recipe
Knowing how to roast corn in the oven is a great trick to have up your sleeve. It’s a convenient and easy way to add variety to most any meal. We like to eat it with fish, burgers, or just by itself.
Ingredients
- 4-6 ears of fresh corn in husks. Plan on 1-1.5 ears of corn per person.
- Desired seasoning (I like garlic salt, creole, pepper, or just about anything)
Instructions
- Use a pair of kitchen scissors to trim the silks, husks, and end of the corn. Place the corn in your sink and fill it with water until the corn can be completely submerged when held underwater. Place a lid or pan on the corn to hold it underwater. Wait 15-30 minutes. Soaking the corn ensures it will not dry out during the roasting process.
- Preheat the oven to 350℉. Remove the corn and shake off any excess water. Spread the corn out on a baking sheet.
- Bake the corn at 350℉ for 30-40 minutes. Avoid opening the oven while baking to retain heat.
- Remove the corn from the oven and let it cool for approximately five minutes. You don’t want it to get cold, but also want to avoid burning your hands while tying the corn husks.
- Peel back the outer husks, tear them off and discard them. Peel down the remaining husks and remove the corn silks. Divide the husks into two parts and tie with an overhand knot. Pull tightly. Repeat.